Proton Mail tips that might convince you to ditch Gmail
Proton Mail may be the more privacy-focused email service you have been looking for.
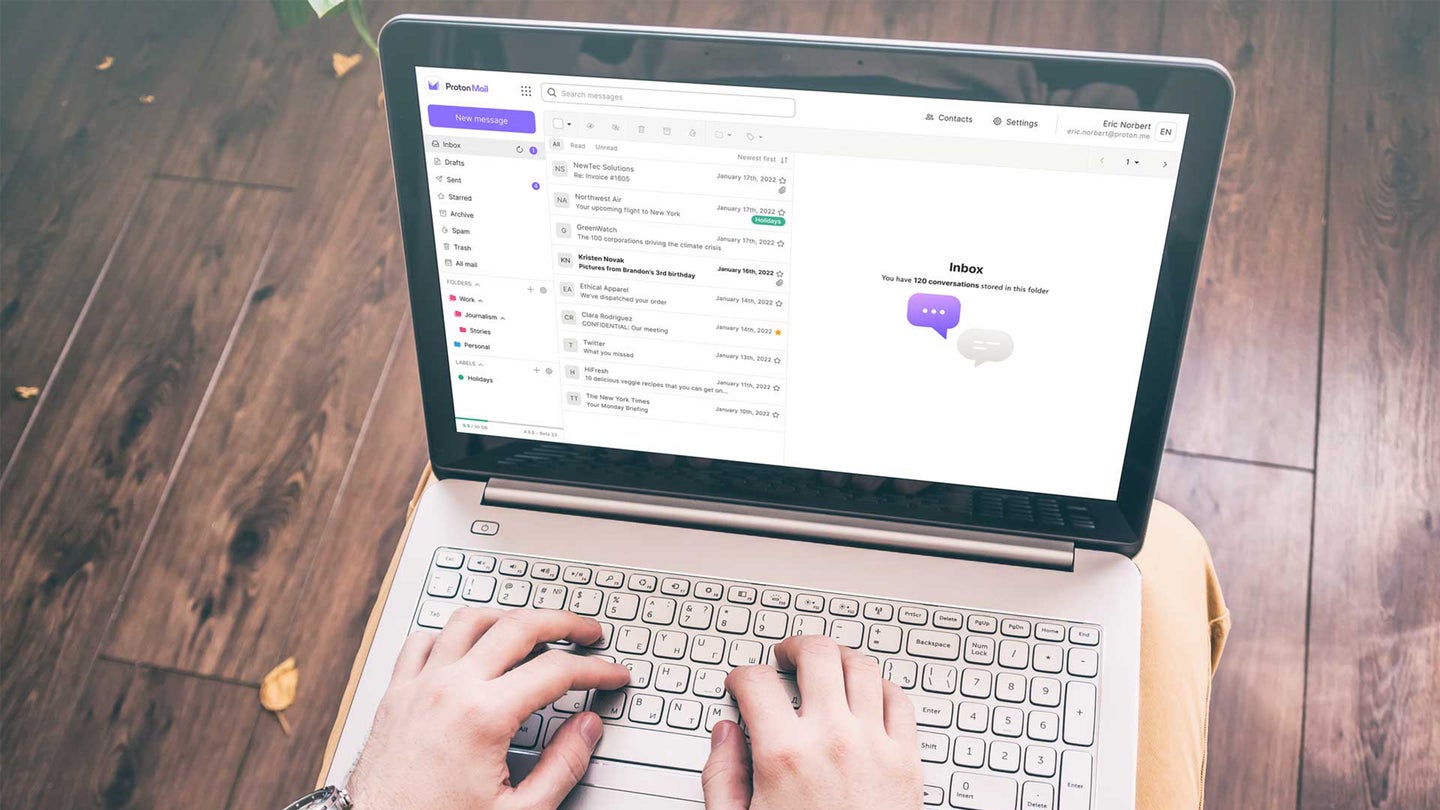
For the privacy-savvy email user, Proton Mail has a lot going for it: An intuitive, customizable interface, end-to-end encryption, and easy integration with desktop clients.
Whether you’re thinking about giving Proton Mail a try or you want to get more out of your account, these tips and tricks should give you a good idea of the capabilities of the email service.
You can use Proton Mail for free or pay for premium plans, starting at $5 a month. Ponying up will give you access to other Proton products, including Proton Drive and Proton Calendar. In the case of the email service, a subscription extends the limits of the free plan (which only includes 1GB storage, three labels, and three folders), while giving you extra features such as support for custom domains, and auto-reply messages.
1. Label your messages
Proton Mail gives you two different ways of grouping emails—labels and folders. The key difference is that a message can have multiple labels, but can only be in one folder at a time.
[Related: Use email aliases to organize your inbox—and stay private]
You might have one label set up for work, for example, and one for anything to do with the kids. They’re color coded for ease of reference and you can quickly get to them from the navigation bars inside the Proton Mail app.
To apply a label, select an email and then click or tap the label button on the toolbar at the top (web) or the bottom (mobile) of the screen—the button looks like a small luggage tag.
2. Customize the interface
There’s nothing bad about the default purple-and-white look of Proton Mail, but there are lots of ways to customize it on the web. Click the cog icon (top right), then choose Go to settings and Appearance to see the options.
At the time of writing, you’ve got a choice of seven different color schemes to pick from, and a selection of layouts for the various different views in Proton Mail. Select Compact, for example, to reduce the spacing between messages.
3. Password protect your emails
If you want to make absolutely sure an email is only opened by the recipient, you can protect it with a password: In the compose window on the web or on mobile, click or tap the padlock icon at the bottom of the message. Proton Mail will then ask you to enter the password required to unlock the message, plus an optional password hint.
Because the message is protected by a password, the recipient won’t be able to open it up like a regular email. They’ll get a link that will direct them to a secure page on the web and the message will appear only after they enter the password. Your contact will also be able to reply to the email directly, even without a Proton Mail account.
4. See who is tracking you
Many marketing companies will include trackers in their emails to see when you open a message and on what devices. That information helps them assess the effectiveness of ad campaigns and understand more about customers, but you may well consider it an overreach in terms of your personal privacy.
Proton Mail will block these trackers by default. On the web, click the shield icon just above a message to the right to see if the platform has detected and blocked any trackers. If you want to turn the feature off for whatever reason, on the web click the cog icon (top right), then choose Go to settings and Email privacy.
5. Use swipes and shortcuts
The faster you can get through your emails the better, and Proton Mail offers some help on both mobile and on the web. In the Android and iOS apps, you can deal with messages by swiping them to the left or right—to set what these gestures do, from starring messages to deleting them, from the main menu (three horizontal lines, top left) go to Settings and pick Swipe actions.
On the web, you can use keyboard shortcuts, a well-known way of getting more done in less time. Click the cog icon (top right), then Go to settings and Messages and composing. Use the Keyboard shortcuts toggle switch to turn them on or off, and click the small ‘i’ icon next to it to see a list of supported shortcuts.
You can use N to create a new message, R to reply to an email, and A to archive it. You’ll be through your email backlog in no time.
6. Filter incoming messages
Filters can do a lot of the hard work of sorting through your incoming messages for you, and Proton Mail is well covered in this department. To set up filters, go to the web client and click the cog icon (top right), then choose Go to settings and Filters.
Click Add filter and follow the steps. First, you’ll need to give it a name, set the conditions, and specify the actions that the filter will trigger. For example, you could automatically archive newsletters or automatically star emails from your partner. Finally, you’ll get to test the filter out in preview form before you save it.
Proton Mail also offers another option, Add sieve filter, which lets you code filters in more detail. You need to do this in the Sieve programming language, which is not difficult to master if you want to try it out.
7. Schedule your emails
If your boss or colleagues are working in different time zones, perhaps you don’t want to send emails right away. Proton Mail can help you set emails to be sent at a specific time and date in the future if you need to.
[Related: Why you should use whitelists to manage your email]
When you’re composing messages on the web, click the little arrow next to the Send button to find the schedule feature, which iPhone users will find by tapping the clock icon. Unfortunately, at the time of writing, the feature hasn’t yet made its way into the Android app.
If you’re on a free Proton plan, you can choose from the suggested dates and times, but if you’re on a premium plan, you can specify the exact moment you want your messages to leave your inbox. Proton Mail keeps outgoing emails in the Scheduled folder until it’s time to send them, and if you need to, you can edit them from there.
