
How to Cut the Cheese
It’s all in the wrist. From better grilled cheese sandwiches to epic charcuterie boards, it turns out the secret’s in how you slice it.
Setting out cut cheese keeps shared food more sanitary than letting guests hack away on their own. Small pieces also tend to look better than large ones, and ensure that each bite is just the right size and shape to enhance a cheese’s particular style.
On the surface, knowing how to cut cheese seems barely more complicated than the supposedly idiot-proof recipe for how to boil water. But proper knifework has come up a lot recently, says certified cheese professional, cheese podcast host, and general jill-of-all-curd-trades Janee' Muha, aka "The Mobile Monger." This perhaps came about alongside the popularity spike of artfully arranged charcuterie boards. Or, just because people have realized that better cheese slicing can improve not just the looks, but also the taste and texture of their selection. Whatever is behind the renewed emphasis on the art of the slice, Muha is ready to teach people the tricks of her trade, starting with the right tools for the job.
What you need:
- Epicurean cutting board ("They're indestructible," says Muha)
- An assortment of cheeses
- Corresponding cheese knives:
- For soft cheeses: Boska Holland Stainless Steel Soft Cheese Knife
- For large-format soft cheeses: Franmara Serrated Stainless Steel Cheese Knife
- For extra-soft cheeses: Small wooden spoon
- For hard cheeses like Parmigiano-Reggiano, aged Gouda, aged/clothbound cheddars: Franmara Stainless Steel Hard Cheese Knife
- For larger formats: 7" Japanese Santoku Knife
- For slicing: Fox Run Marble Cheese Slicer
- To get one set with everything you need: Formaticum Professional 4-Knife Set
- Parchment paper
- Cling wrap
BEFORE YOU BEGIN
If you plan to cut multiple different types of cheese, start by putting them in the order you will cut them, Muha recommends: begin with the softest cheese and work your way to the hardest.
STEP 1: Identify the proper knife and cut the cheese into the number of slices needed.
For each of the broad categories of cheese, Muha uses a different tool and technique for cutting. The soft cheese category includes brie, camembert, Loire Valley-style goat cheeses, and the like, while the “hard” category includes firm and crumbly varieties like Parmigiano-Reggiano, aged Gouda, and older cheddars. “Medium” or “semi-firm” cheeses include Goudas and cheddars with a bit less age on them (the type you might slice thinly for a sandwich). Check the "What you need" section above to get the right tool for each cheese ready.
STEP 1A: Cut soft cheese into wedges.
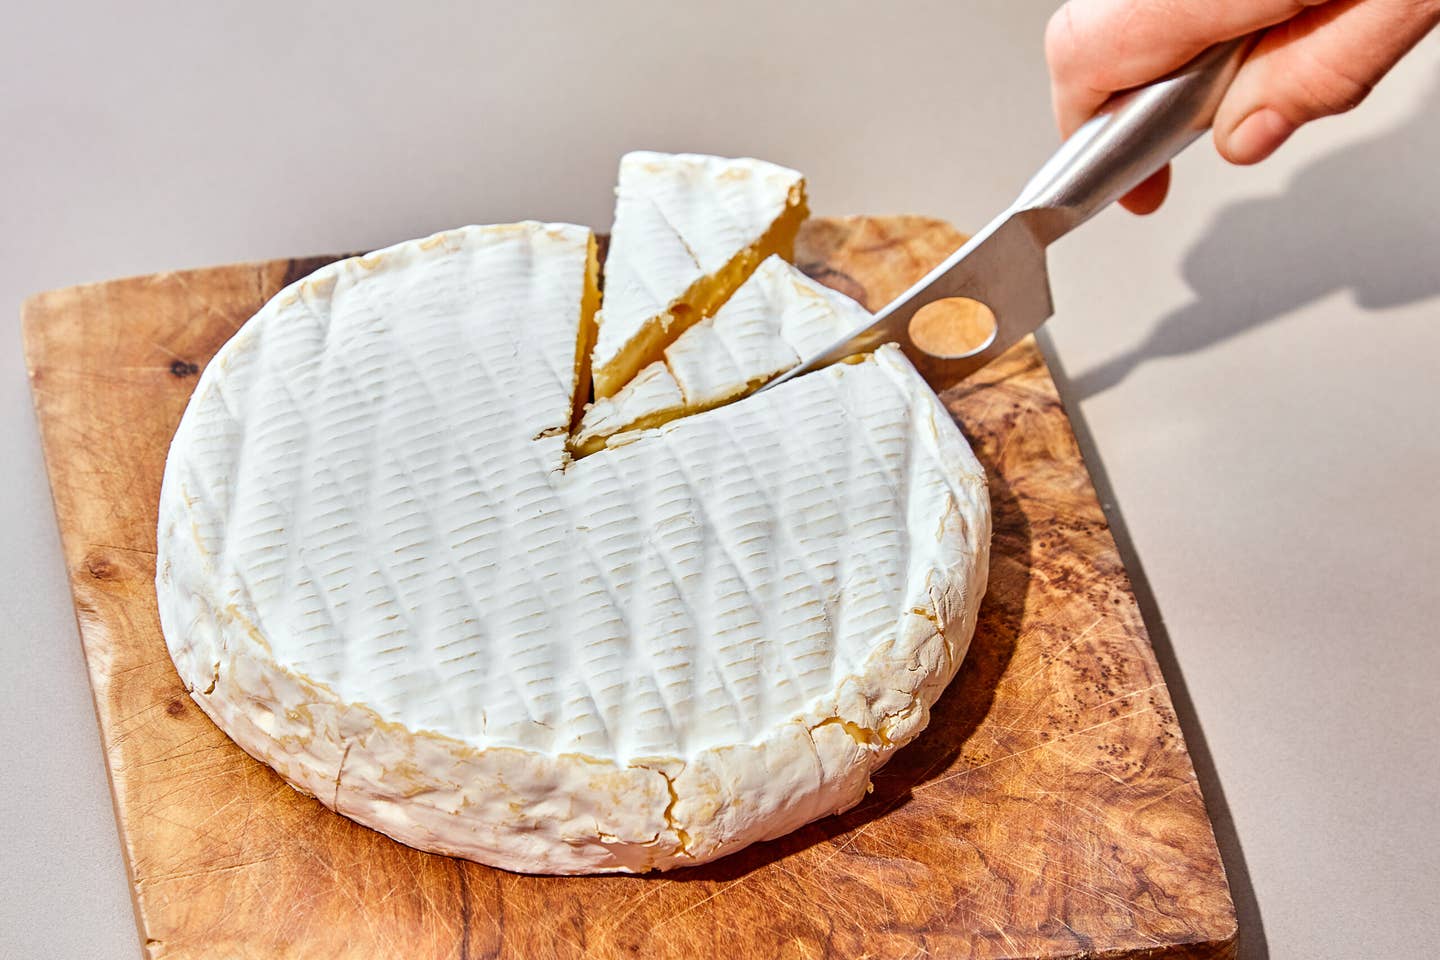
The important thing to watch for with this style is the rind-to-paste ratio; it’s important to make sure each piece has a consistent balance of each texture. Using a soft cheese knife, Muha cuts a standard small wheel of brie or camembert into wedges, like cutting a pie. "[The knife] is offset, so it goes through the entire wheel, and you don't have to push." For larger format wheels, she uses a "skeleton"-style cheese knife, which has cutouts in the blade so it glides more smoothly. SAVEUR Editorial Director (and resident cheese expert) Kat Craddock adds that a knife with a serrated edge is helpful for neatly slicing into a soft cheese with a rind, "Much like cutting through the skin of a ripe and juicy tomato." After making wedges (or starting with the wedge, if you purchased a partial wheel), keep the same rind-to-paste ratio in mind and cut slices running from the point to the outer edge.
Craddock also offers another option for a very ripe soft cheese with a rind (such as Vacherin Mont d'Or or Rush Creek Reserve): Slice the top rind off the whole wheel and serve with a little spoon or wooden spatula for scooping directly into the creamy center.
STEP 1B: Chisel crumbly cheeses into rustic chunks.
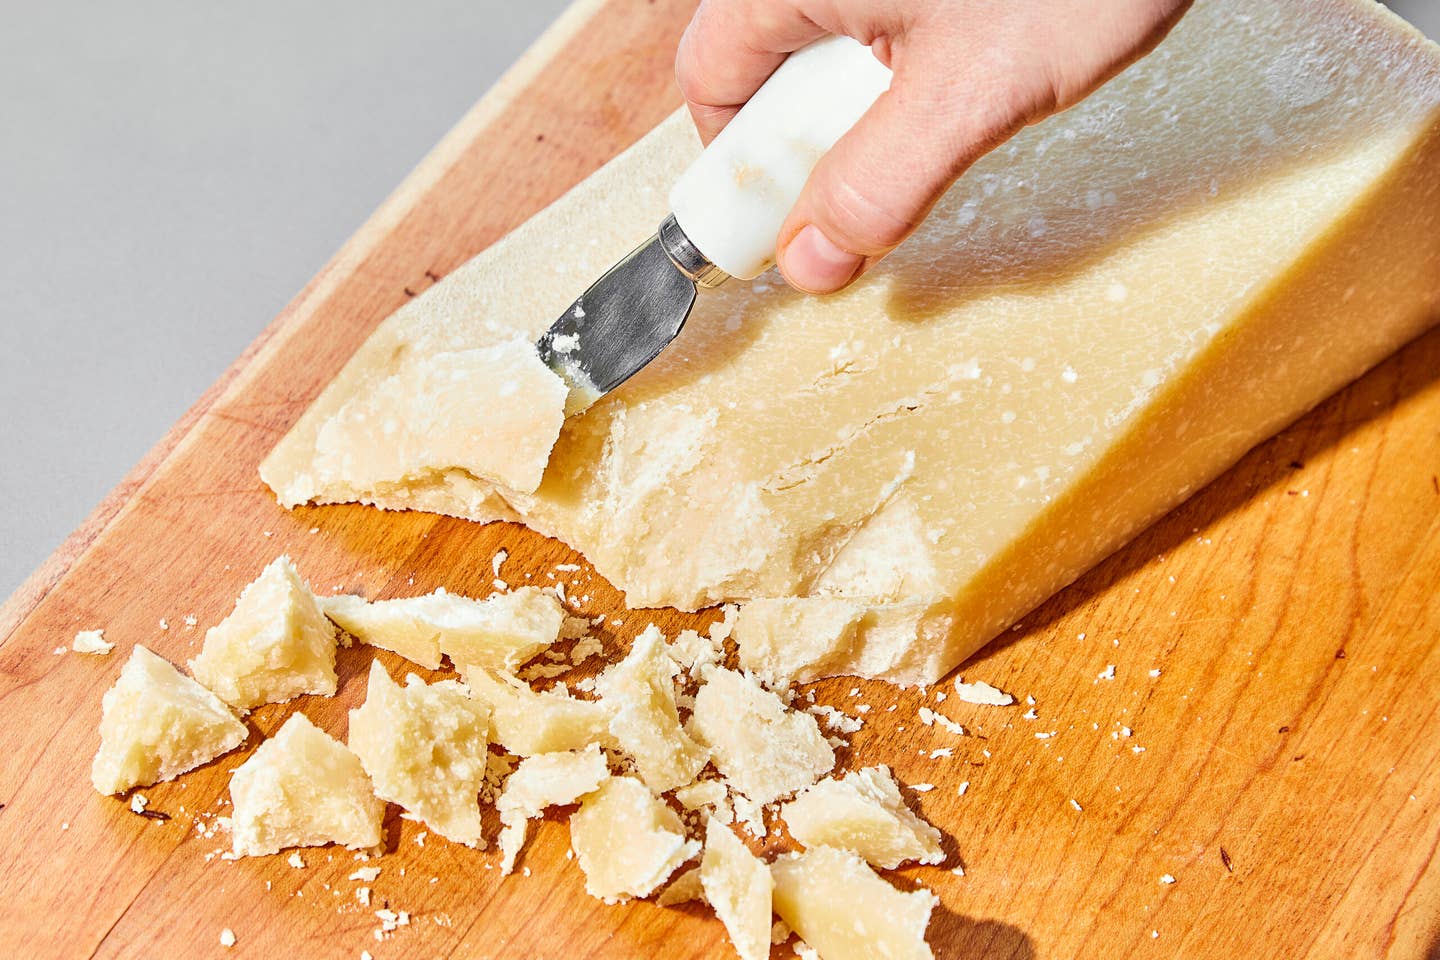
Use a wedge-shaped cheese knife to crumble apart any flinty hard cheese. Stick the tip of the knife in, then turn it a little, and pieces will naturally break off along the curd structure, explains Muha. Large-format cutting for these cheeses is less important in the home kitchen, unless you just impulse bought yourself an entire wheel of Parm while on vacation in Italy, in which case study up on this video (or hire a friendly local cheesemonger to help you).
STEP 1C: Slice medium cheese with a knife or slicer.
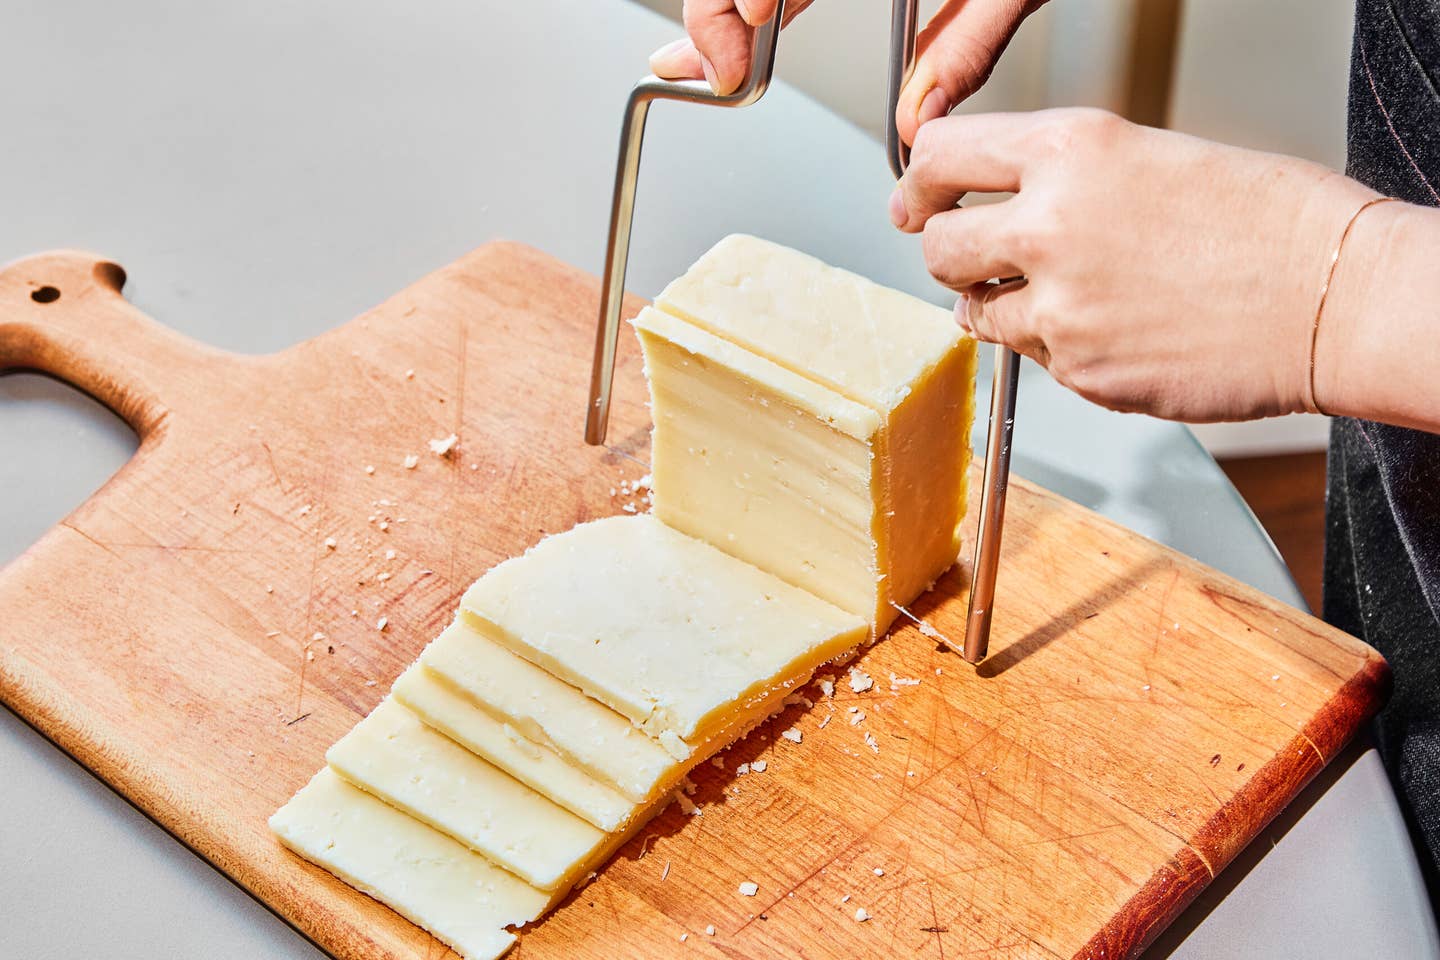
For thin slices of medium cheeses like a cheddar for a sandwich, Muha chooses between a chef's knife and a wire slicer. But she is a professional, and thus can do a pretty good job cutting a medium cheese using a knife. For those without pro knife skills, she says a simple wire cheese slicer is a pretty good home alternative to the tools professional cheesemongers use. "But you're not going to get deli slices at home," she warns.
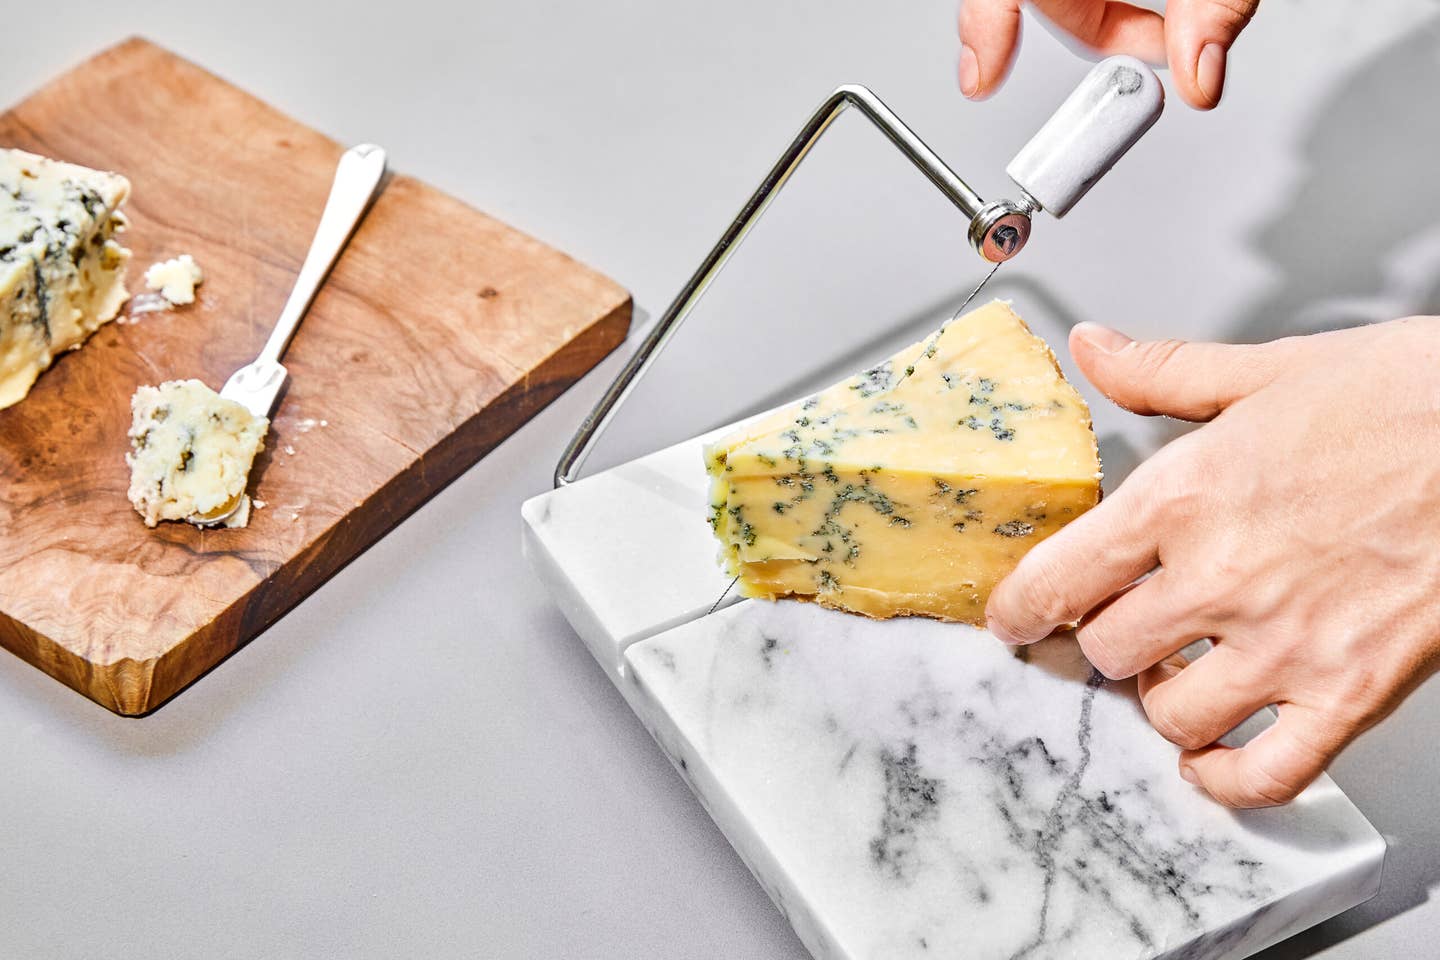
STEP 1D: Slice blue cheese with a wire slicer or spreader.
Because blue cheeses vary greatly in texture, the right tool depends significantly on the specific blue you have. "I usually prefer a wire for more crumbly blues," says Craddock. For creamier types, she might reach for a spreader, since it will be soft enough not to need any actual cutting, or even a butter knife.
STEP 1E: Slice mozzarella balls—or don’t.
For smaller mozzarella balls (bocconcini or ciliegine), cutting is unnecessary, as you can just let people take an entire ball. But for larger formats like ovolini, Craddock recommends using a thin cheese knife. The best way is to simply slice the ball in half, turn each half cut-side-down, then cut crosswise from, leaving you with a stack of semi-circular slices.
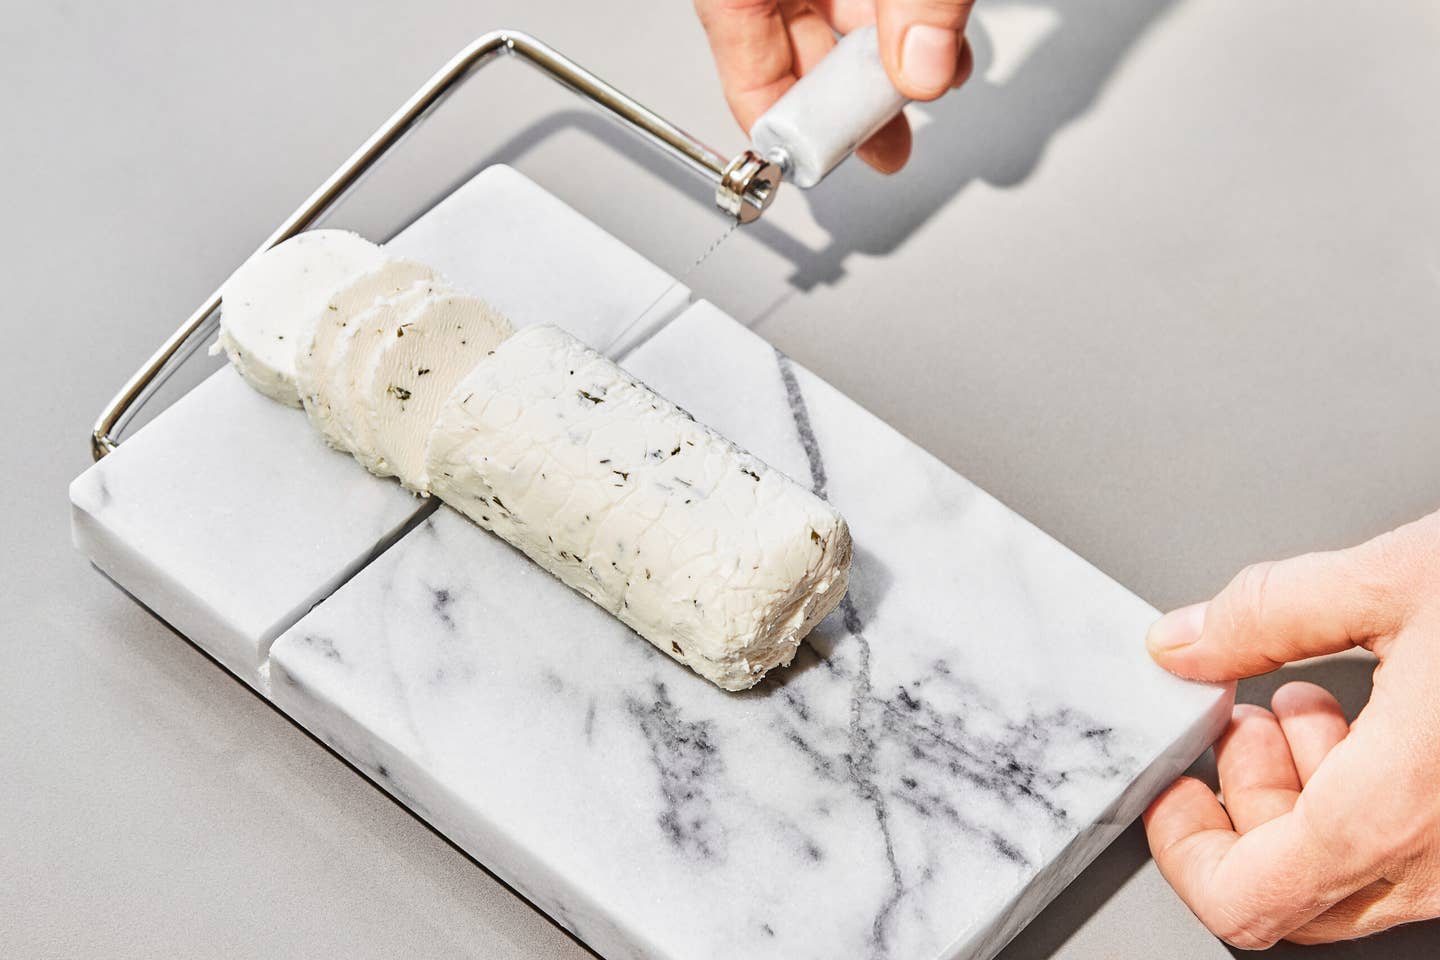
STEP 1F: Slice log-shaped cheeses like chèvre with a skeleton knife
Using the skeleton knife or a wire slicer to keep the cheese from losing its shape as you work, cut even crosswise slices from the log. Hopefully the size makes it easy to create portion-sized coins of cheese, but if they are too large, cut each in half across the equator before serving.
STEP 2: Lather, rinse, repeat with other cheeses.
It's super important to wash your knives and board between cheeses, says Muha. Otherwise, if you, say, cut a brie or blue cheese and then use the same knife on a cheddar, you essentially inoculate the cheddar with the blue cheese spores. To put it in simpler terms: that cross-contamination can make your cheese get moldy much faster than it otherwise would. Once you clean up, head back to the board and cut the next cheese. Repeat as needed until you finish all the cheeses.
STEP 3: Leave cut cheese at room temperature to warm up and wrap remaining cheese for storage.
Leave out the cheese you cut for eating for at least half an hour to warm up before serving or consuming it. You can taste more of the flavors at room temperature, says Muha, describing this as the flipside of why cheap beer companies promote serving their product ice cold ("So you can't taste how terrible it is.").
To keep any remaining cheese fresh as long as possible, she recommends wrapping it first in parchment paper and then in plastic. The parchment gives it enough air to breathe and prevents light oxidation (which makes it taste old and cardboard-y), while the plastic wrap prevents the cheese from drying out. For soft cheeses, Muha says it's especially important to make sure that the paper is right up against the gooey part to keep it in prime condition.
Final Thoughts
Cutting cheese is easy. Cutting cheese well takes some specialized equipment and a little bit of know-how. When done right, the cut matches the curd, and the texture maximizes the flavor. With a few tips and the right tools for the task, your cheese board will go from smeary mess to Instagram hit faster than you can film your next TikTok.
Keep Reading


")
")

Continue to Next Story
