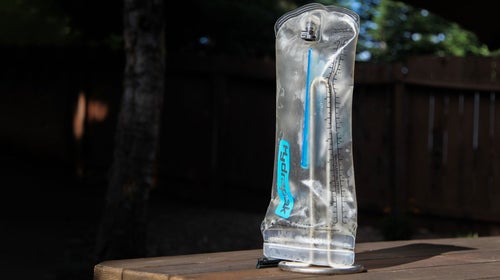
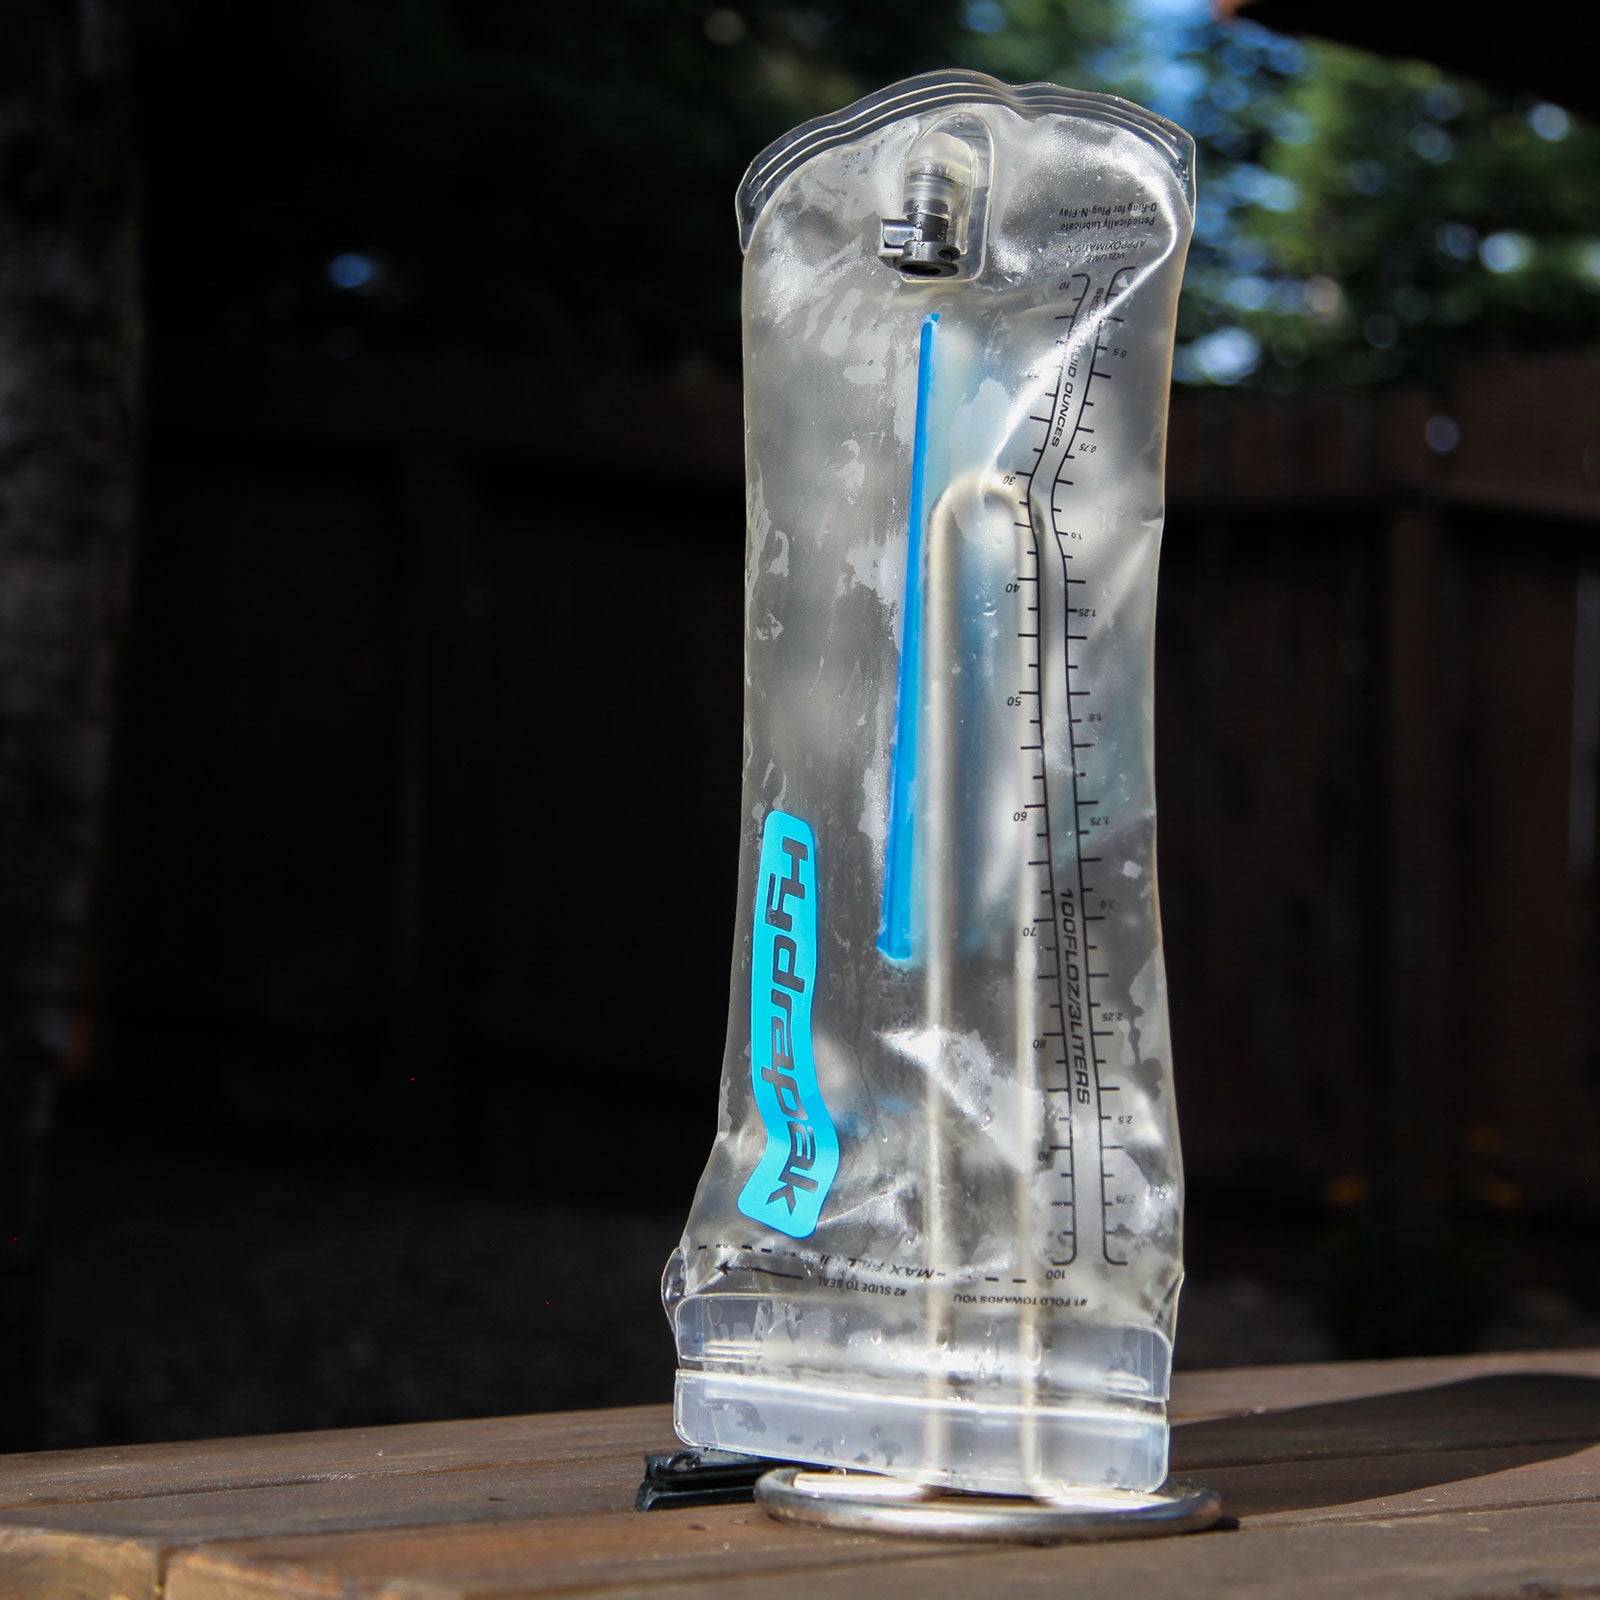
The underappreciated first step when it comes to taking care of your hydration reservoir—that bladder-like bag that sits for extended periods filled with water inside your hiking or cycling pack—isn’t actually about cleaning it. (We’ll get to that in a second.) “You need to wash your reservoir, yes, but the big component people forget about is drying it,” says John Weir, manager of Bentgate Mountaineering, an outdoor store in Golden, Colorado. “You don’t want to seal it up, put it in the garage, and let it fester.”
How do you dry it? Easy. Flip it upside down or turn it inside out, then hang it over something—a wine or olive oil bottle, the sink faucet, a spatula, an empty paper towel holder—with the mouth open until it dries out. Osprey makes a Hydraulics Reservoir Cleaning Kit ($24), which can be used on pretty much any brand of reservoir and comes with a specialized drying rack. CamelBak also makes a Reservoir Cleaning Kit ($20) for its models, as does Mazama Designs ($14), and both come with drying apparatus. Make sure you detach the hose and bite valve and dry those out, too.
Weir recommends emptying and drying your bladder after each use. (So, don’t store it filled with water.) Really, you don’t need to thoroughly clean it with soap and water every single time you go for a ride, but washing it a couple times per year and before you store it away for a while will help stop bacteria from growing. So, how do you clean the bladder? There are a few different methods.
How to Clean a Bladder in the Dishwasher
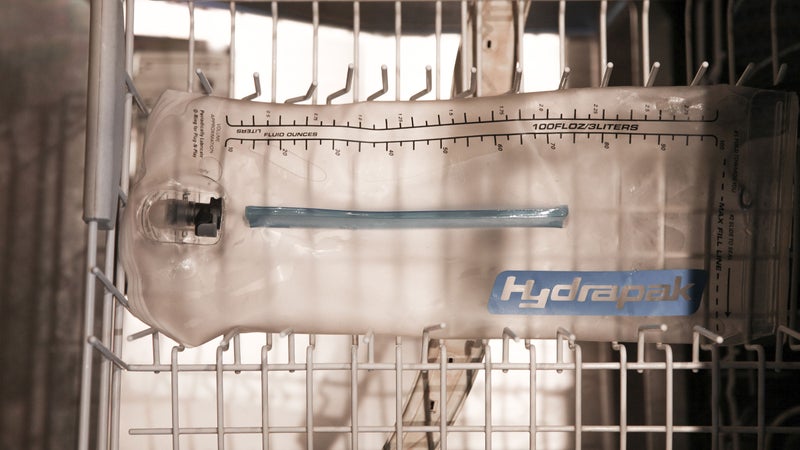
But only if you own a HydraPak—not all styles can be cleaned alongside your dinner plates. “The simple answer with HydraPak reservoirs is that they’re reversible,” says Morgan Makowski, the brand’s marketing director. “You can flip them inside out and they’re top-shelf dishwasher safe. That’s the easiest way.”
How to Clean a Bladder by Hand
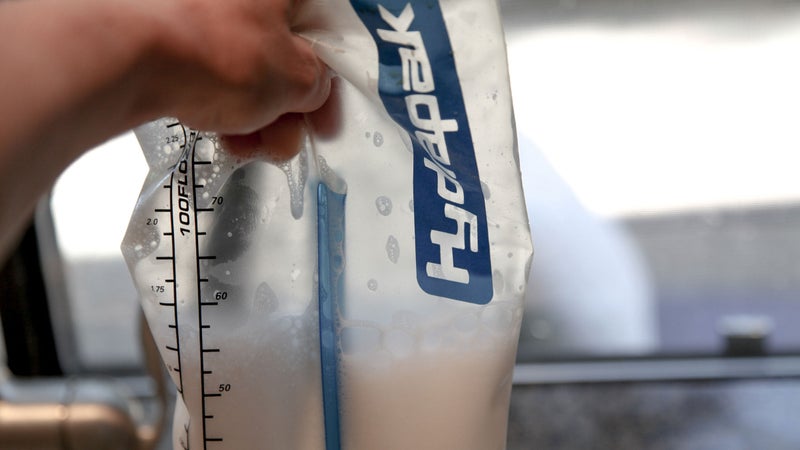
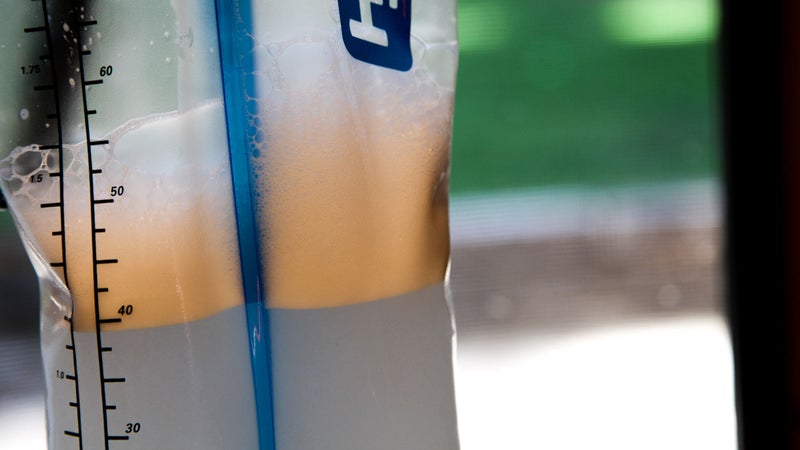
Bladders from CamelBak, Osprey, Platypus, Gregory, and others are best cleaned by hand, using hot (not boiling) soapy water and a thorough rinse. You can use a tiny amount of dish soap or natural cleaners, like lemon juice, baking soda, or vinegar. “I fill my reservoir halfway up with hot water, add a teaspoon of baking soda and a teaspoon of white vinegar, then let it soak for 20 minutes before rinsing,” Weir says.
Remove the mouthpiece (some bite valves come apart as well) and let the pieces soak in a bowl of warm soapy water, then rinse and dry completely. You can use the brush in the cleaning kits mentioned earlier to scrub the bladder’s interior and the skinny, long piping (also included) to run through the tube for a really deep clean. (A thin cord with a knot on one end also works in a pinch for the tube.)
Use a Hydration Bladder Cleaning Tablet
Want an even easier option? Toss an effervescent cleaning tablet—which works for water bottles, too—inside your reservoir, along with some hot water, and let the fizzing tablet do all the work for you. Five to 30 minutes later (depending on the brand), dump and rinse. CamelBak sells an eight-pack of bleach-based cleaning tablets ($12), or check out Bottle Bright ($8) for an all-natural, biodegradable tablet.
Yes, You Can Freeze a Hydration Pack to Prevent Mold
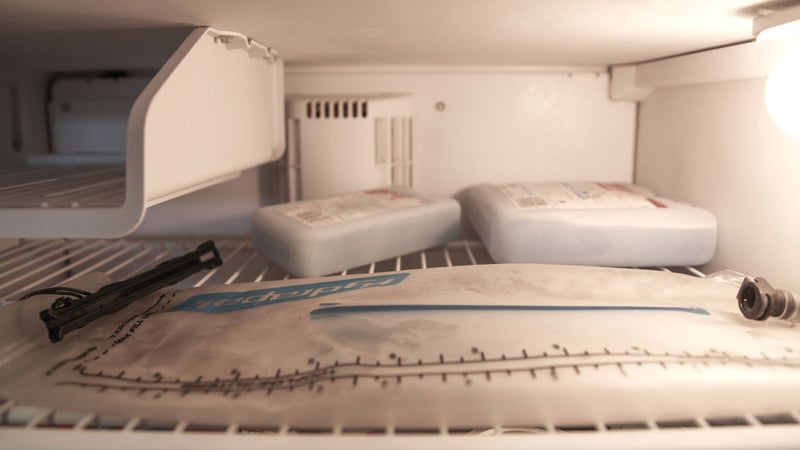
Here’s a fun trick. If you live in a humid place where bacteria grows easily, or if you fill your hydration reservoir with sticky, residue-leaving sports drinks, you may want to consider freezing it. Empty and rinse the reservoir when you’re done using it, wash and dry it, and then stash the bladder and tube inside your freezer until you’re ready to use them again. “You freeze everything that’s living in there and prevent sugar or moisture from growing mildew or mold,” Weir says.