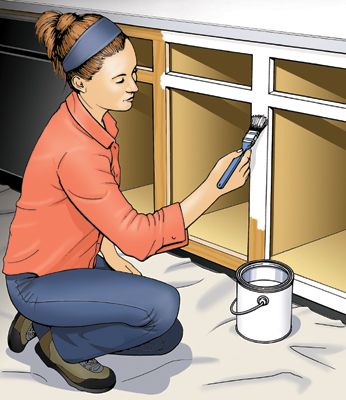
Every kitchen eventually reaches the point at which it looks worn-out. That's the time to take stock of your options. Everyone is well aware that kitchen remodeling is costly and inconvenient. However, a simple and low-cost alternative is to paint the kitchen cabinets.
This option is one that many people fail to consider, despite the fact that older homes often have painted carpenter-built cabinets that have stood up to decades of use. The process is easier than ever, thanks to 100 percent acrylic enamels that produce little odor as they are applied and clean up with soap and water.
Step 1: Preparation
The cabinet painting process begins with preparation. The better you prepare the cabinets, the better the end result. Start by removing the drawers. Older drawers slide in and out of a cavity. Others move with side-mounted or bottom-mounted hardware. These slides may clip on to the drawers, or you may have to move the drawer out and tip it forward or back to free it from the slides.
Step 2: Remove the Hinge
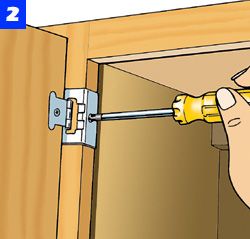
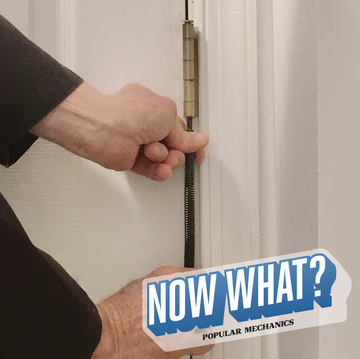
Remove the screws that hold a door hinge to the cabinet face frame. Then remove the hinge from the door.
Step 3: Remove Drawer Pulls
Use a screwdriver to remove the two screws that fasten a drawer pull or a door handle.
Step 4: Remove Shelves and Hardware
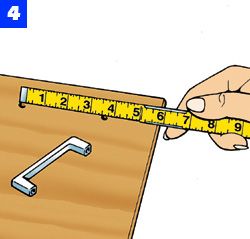
Remove the mounting screws from door hinges and drawer pulls (Figs. 2 and 3). If you are replacing the pulls with new hardware, remember to measure the hole spacing to determine the correct size of replacement pulls. Remove adjustable shelves and any remaining hardware.
Step 5: Wash Cabinets
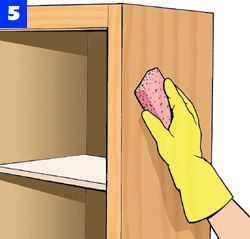
Next, use a sponge or nylon scrubber and gently wash all cabinet surfaces using powdered trisodium phosphate (TSP) cleaner dissolved in warm water. You can buy this grease-cutting cleaner in hardware stores and paint stores. Rinse the surfaces and let them dry. Fill dents and scratches with wood filler or drywall compound.
Step 6: Sand
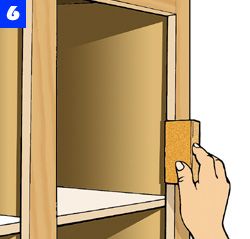
Once the previous steps are complete, lightly abrade surfaces to be painted with 120-grit sandpaper. This process increases the surface area of the painted object and improves primer adhesion by providing a better mechanical bond.
Step 7: Tape
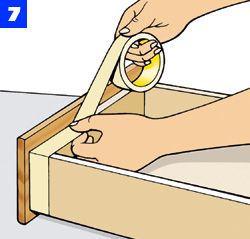
Complete the preparation by applying masking tape to surfaces you don't want painted, if they are adjacent to ones that will be painted.
Step 8: Paint Cabinet Interior
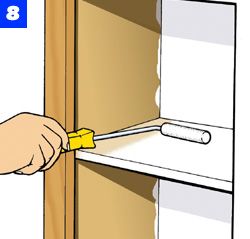
Begin by painting the interior surfaces of the cabinets. The best tool for this is a mini paintroller because it paints into corners.
Step 9: Paint Drawer Face
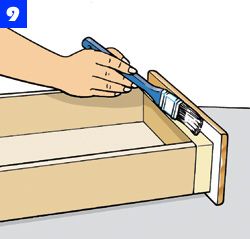
Use a brush to paint the back surface of each drawer face. Be sure the paint is dry before removing masking tape.
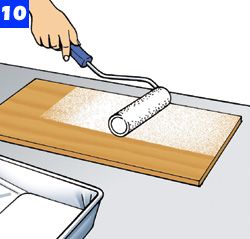
Step 10: Paint Doors, Sides, and Shelves
Use a full-size paint roller to coat doors, cabinet sides and removable shelves. Paint a broad surface, let it dry, then paint the edges. Or, paint the edges first and then immediately paint the broad surface.
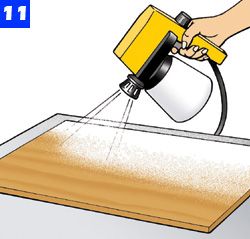
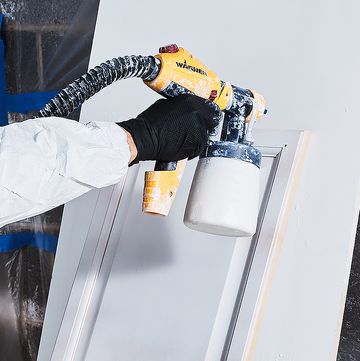
Step 11: Airless Sprayer
Another option is to use an airless sprayer on these surfaces. Wear a respirator when applying paint with a sprayer.
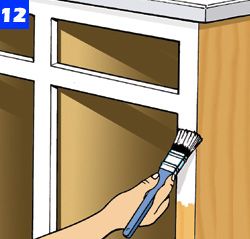
Step 12: Trim Brush and Reassemble Cabinets
Use a good-quality trim brush to paint the inside edge of cabinet face frames, then paint the outside frame surface.
When the paint is dry, reinstall hardware, then remount the doors and drawers.

